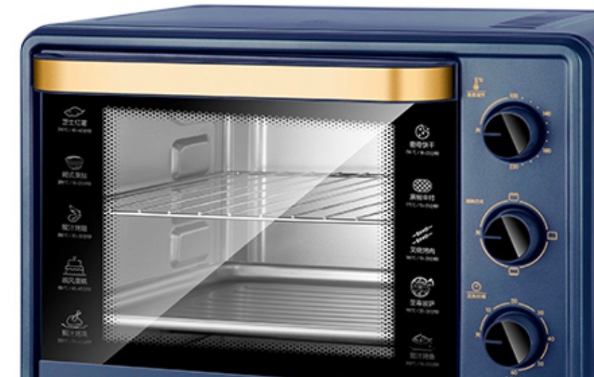
An oven is an essential appliance in the kitchen that makes cooking and baking a lot easier. However, over time, the oven door gasket or seal can become worn out, causing heat to escape and affecting the cooking process. When this happens, it's important to replace the oven door gasket as soon as possible. In this article, we'll provide a step-by-step guide on how to replace the oven door gasket.
Step 1: Identify the Oven Door Gasket
Before you start the replacement process, you need to identify the type of oven door gasket your oven has. There are two types of oven door gaskets: the push-in type and the clip-on type. The push-in type gasket is inserted into a groove around the oven door, while the clip-on type gasket snaps onto the oven door.
Step 2: Gather the Necessary Tools
To replace the oven door gasket, you'll need a few tools, including a screwdriver, pliers, and a putty knife. Make sure you have these tools on hand before you start the replacement process.
Step 3: Remove the Old Oven Door Gasket
To remove the old oven door gasket, start by opening the oven door and locating the gasket.oven door replacement. If you have a push-in type gasket, use a putty knife to pry it out of the groove. If you have a clip-on type gasket, use pliers to pull it off the oven door.

Step 4: Clean the Oven Door
After removing the old gasket, use a damp cloth to clean the oven door where the gasket was located. Make sure to remove any debris or residue to ensure a clean surface for the new gasket.
Step 5: Install the New Oven Door Gasket
Next, take the new oven door gasket and carefully install it in the same location where the old gasket was removed. If you have a push-in type gasket, make sure to press it firmly into the groove. If you have a clip-on type gasket, snap it onto the oven door.
Step 6: Check the Seal
Once you've installed the new oven door gasket, close the oven door and check the seal. You can do this by running your hand along the perimeter of the oven door to feel for any gaps. If you feel a gap, try adjusting the gasket or repeating the installation process to ensure a tight seal.
Step 7: Test the Oven
Finally, turn on the oven and let it heat up to a high temperature. This will help you determine if the new oven door gasket is working properly. If you notice that the oven is heating up faster or that the food is cooking more evenly, then the new gasket is doing its job.
In conclusion, replacing an oven door gasket is a simple process that can be done at home with the right tools and a little bit of patience. By following these seven steps, you can ensure that your oven is working efficiently and that your food is being cooked to perfection. So, the next time you notice that your oven door gasket is worn out, don't hesitate to replace it and enjoy a properly functioning oven once again.